Layered cocktails: the layering technique
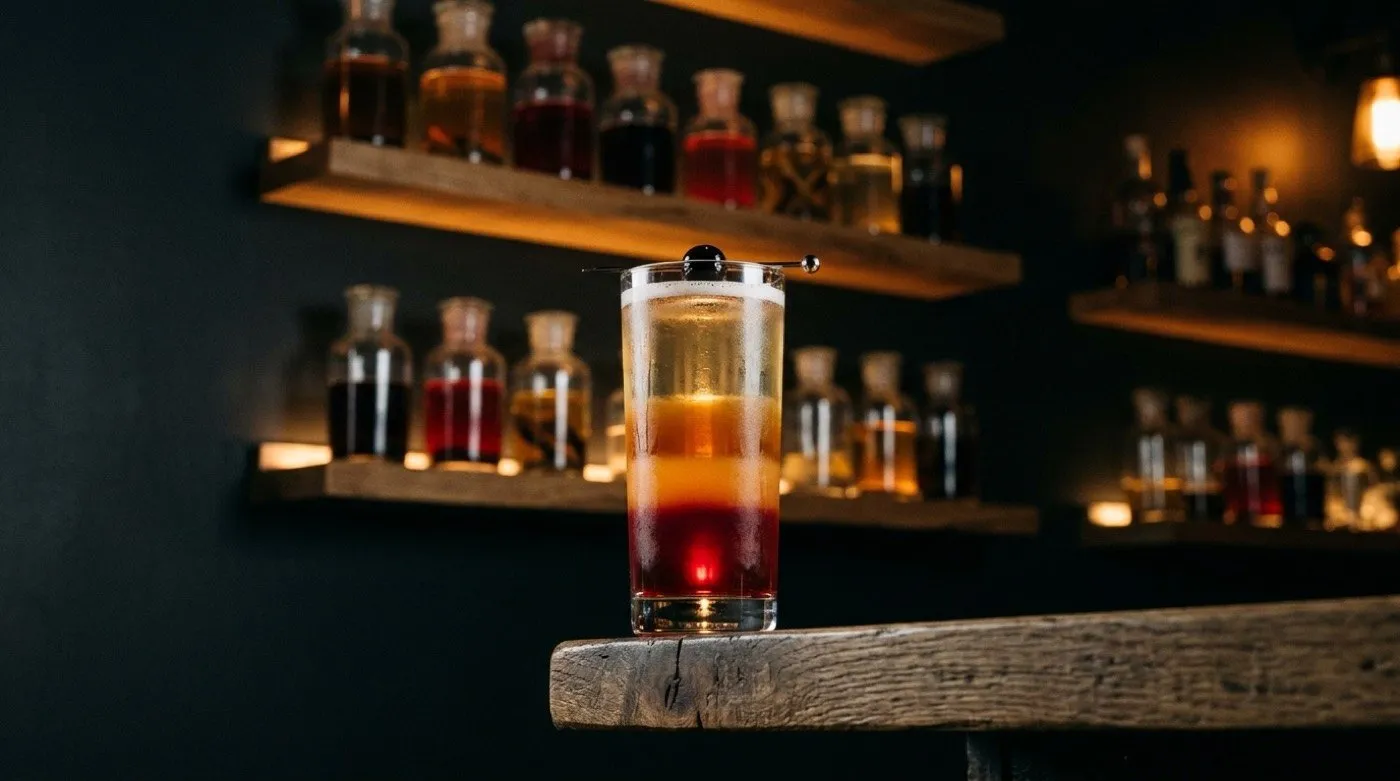
Layering a cocktail means pouring the ingredients so that they sit in crisp, separate layers inside the glass, without mixing. At STILLROOM we use it mainly to give a visual punch to our signature creations, knowing the trick lies in making the most of each liquid’s density: the sweeter, lower-alcohol ones sink to the bottom, and the lighter, more alcoholic ones float on top.
What layering a cocktail is and how the physics of the layers works
Layering is not magic, even though it can look like it. It relies on a simple physical principle: liquids with a higher density sink, those with a lower density float. In cocktail making, density depends mainly on two factors: the amount of dissolved sugar and the alcohol content. Sugar increases density, while alcohol reduces it. That is why a dense syrup like grenadine stays at the bottom, a cream liqueur like Baileys forms a middle layer, and a high-proof spirit — such as an overproof rum — crowns the glass without sinking.
The manual technique is just as important. To stop the layers mixing as you pour, you must pour each liquid very slowly over the back of a bar spoon, held right against the surface of the previous liquid. The spoon breaks the fall and spreads the new liquid horizontally, preventing turbulence. With a steady hand and a little practice, you get perfectly defined lines.
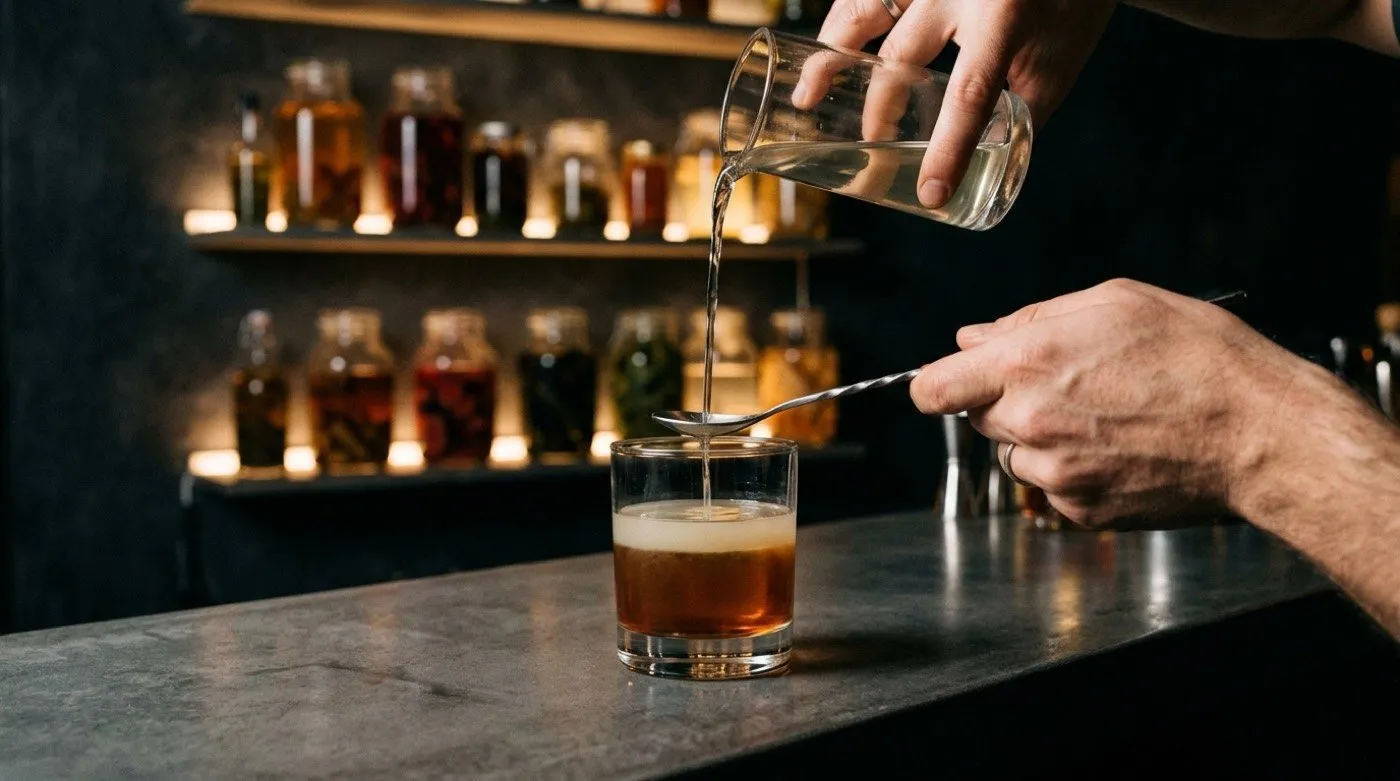
A particular case is the float: it involves floating a single layer over the body of the cocktail, such as the red wine in a New York Sour. The mechanics are identical, but you only need to make sure the last addition ends up on the surface. It is one of the most rewarding techniques for adding visual and aromatic complexity without altering the structure of the drink.
Density table: what goes at the bottom and what goes on top
To master the order of the layers, nothing beats memorising this practical reference. We have ordered the liquids from highest to lowest density, that is, from the bottom to the surface of the glass.
| Liquid | Relative density | Position in the glass |
|---|---|---|
| Grenadine or dense syrup | Very high (lots of sugar, 0% alcohol) | Bottom |
| Cream liqueurs (Baileys, crème de cacao) | High (sugar + cream, low alcohol ~17%) | Second layer |
| Sweet liqueurs (triple sec, amaretto, coffee liqueur) | Medium-high (moderate sugar, 20-30% alcohol) | Third layer |
| Standard spirits (vodka, gin, 40% rum) | Medium (no sugar, 40% alcohol) | Fourth layer |
| Overproof rum or high-proof spirits | Low (more alcohol, less density) | Surface |
This table is not a universal rule — temperature and dissolved solids also play a part — but it works as an almost foolproof starting guide. If you wanted to reverse the order, you would have to modify the density of the ingredients using laboratory techniques, something we explore at STILLROOM with our cordials and clarifications.
The most iconic layered cocktails and their tricks
Some drinks have made the layering technique famous. Here are four textbook examples, with the order of the layers and the detail that makes the difference.
| Layered cocktail | Layers (bottom to top) | Trick |
|---|---|---|
| B-52 | Kahlúa (coffee liqueur) → Baileys (Irish cream) → Grand Marnier (orange liqueur) | The Baileys must be cold so it does not mix with the Kahlúa; pour the Grand Marnier with the spoon almost touching the cream layer. |
| Tequila Sunrise | Tequila + orange juice → grenadine (sinks on its own, creating a gradient) | Here the aim isn’t a perfect line but a sunrise effect. The grenadine is added last, poured slowly down the side of the glass, and sinks by itself. |
| New York Sour | Whisky, lemon juice, syrup → red wine float | The red wine is floated over the back of the spoon just before serving. The acid-tannin contrast is spectacular. |
| Pousse-café | Several layers (e.g. grenadine, yellow liqueur, green liqueur, rum) | The order of densities is sacred: always from highest to lowest. It is served in a short glass and drunk in a single sip to appreciate all the layers at once. |
How we use it at STILLROOM: beyond the rainbow
At our bar on Calle Moreto 9, layering is not an end in itself but a narrative tool. When we design a signature cocktail, we think about the whole experience: aroma, texture, temperature and, of course, visual impact. A floated layer of essential oil, a clarified cordial that sinks slowly, or a sherry float over a pineapple ferment are gestures that tell a story before the first sip.
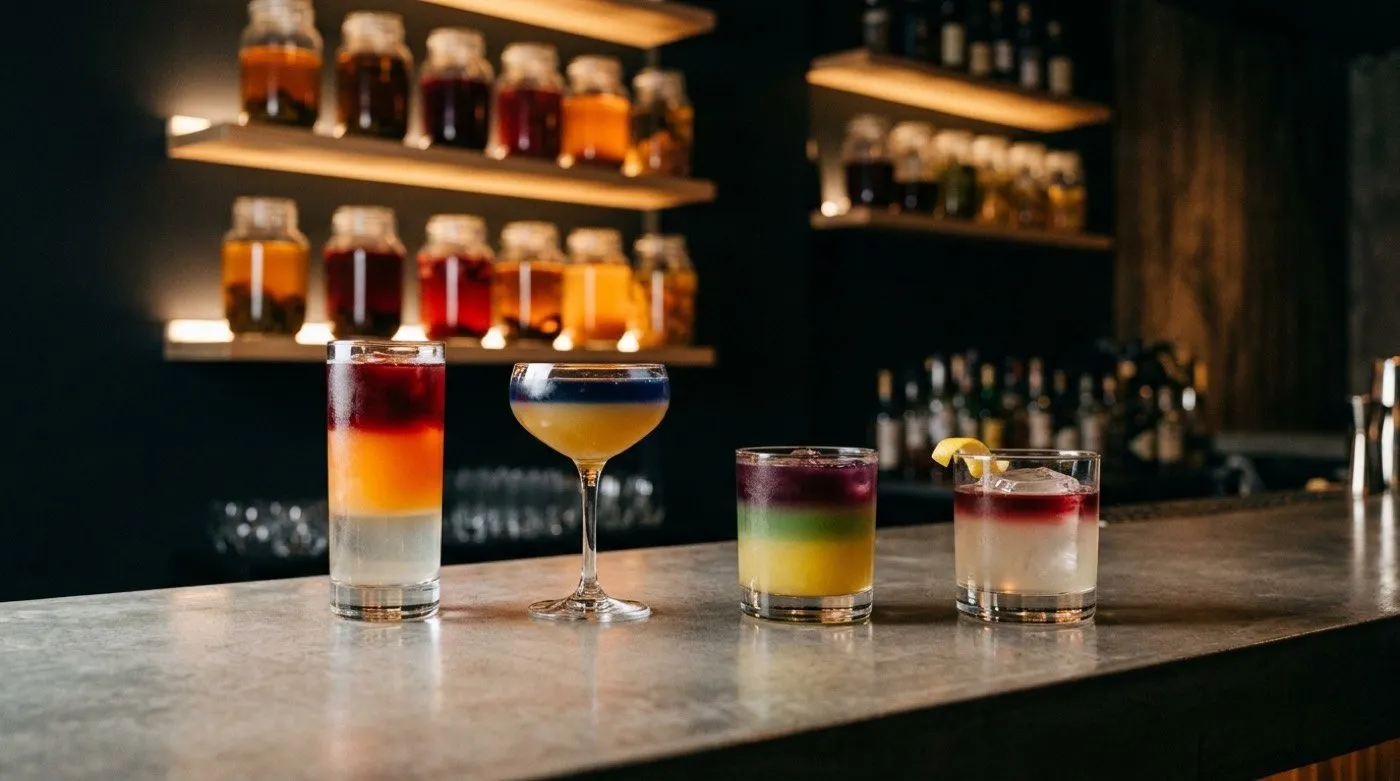
But we never lose sight of the classic technique. Because to innovate, you first have to master the fundamentals. If you would like to revisit other essential cocktail-making techniques, we recommend reading our guide on the shake technique, where we explain how to emulsify and chill in seconds, or the article dedicated to the stir, the perfect choice for clear, silky cocktails. And if you have already mastered the basics, dive into our roundup of advanced cocktail techniques, where we talk about clarification, fat washing and fermentation.
Three ideas to start practising layering at home
You do not need a laboratory to experiment with layers. With three recipes of increasing difficulty, you can understand the technique and surprise your guests.
1. B-52: the three-layer classic
The B-52 is the gold standard of layering. You need Kahlúa, Baileys and Grand Marnier. In a shot glass, pour the Kahlúa first. Then, with the bar spoon held right against the surface of the coffee liqueur, add the very cold Baileys. Finally, add the Grand Marnier, also with the spoon, almost grazing the cream. The result: three perfect bands drunk in one shot.
2. Tequila Sunrise: the most photogenic gradient
Here we are not after straight lines but a sunrise effect. In a tall glass with ice, mix tequila and orange juice. Then tilt the glass slightly and pour the grenadine slowly down the inner wall. The grenadine will sink on its own, creating a reddish gradient. Stir gently if you want a more blended effect. It is the perfect cocktail for understanding how density creates movement inside the glass.
3. New York Sour: the float that changes everything
Prepare a classic Whisky Sour (bourbon, lemon juice, syrup, egg white) and shake it vigorously. Strain it into a rocks glass with ice. Now comes the trick: hold a bar spoon over the surface of the cocktail and slowly pour red wine (preferably a fruity one, like a Syrah) over the back. The wine will float, creating an intense red layer that contrasts with the white foam. As you drink, the wine gradually integrates, giving a delicious tannic finish.
Now that you know the secrets of layering, we invite you to put them into practice with our cocktail menu, where every drink is a complete experience. If you would rather see it live and chat with our team, you can book a table at STILLROOM, right in the heart of the Los Jerónimos neighbourhood. And if you want to keep exploring the language of mixology, do not miss our cocktail glossary, where we break down every term and technique.
Frequently asked questions
What does it mean to layer a cocktail?
Layering is the technique of pouring a cocktail’s ingredients so that they sit in distinct layers inside the glass, without mixing. It is achieved by making the most of the density differences between the liquids and using a bar spoon to cushion the pour.
How do you stop the layers from mixing?
The key lies in two factors: the correct order of the liquids (the densest at the bottom, the lightest on top) and the way you pour. Every new layer must always be poured very slowly over the back of a bar spoon, held right against the surface of the previous liquid. This breaks the force of the pour and prevents turbulence.
Which drinks go at the bottom and which on top?
The sweeter, lower-alcohol liqueurs are denser and go at the bottom (grenadine, creams). High-proof spirits with little sugar are less dense and float on top (vodka, rum, gin). A practical rule: the more sugar, the lower down; the more alcohol, the higher up.
What is the difference between layering and a float?
Layering consists of creating several stacked layers (three or more). A float is a variant in which only one layer is floated over the rest of the cocktail, such as the red wine in a New York Sour or a drop of essential oil. The pouring technique is the same, but a float focuses on a single surface layer.
Do I need any special tool to make layers?
The essential tool is a bar spoon with a long, flat handle. Its back lets you cushion the liquid. A fine-spouted pourer or a syringe also helps for very thin layers. At home, a teaspoon can work if you have a steady hand.